...
- Download the latest release of the installer from the Downloads Page.
- Save the installer to an accessible location on your computer.
- Upon executing the installer you may be prompted to make sure that an Administrator approves of installing this application.
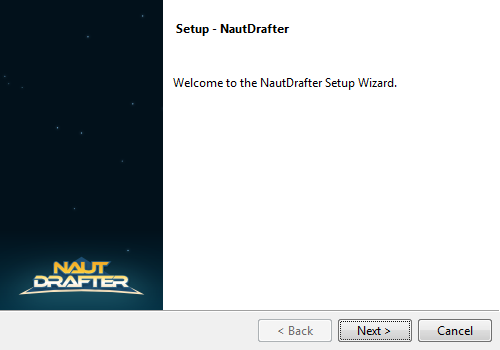
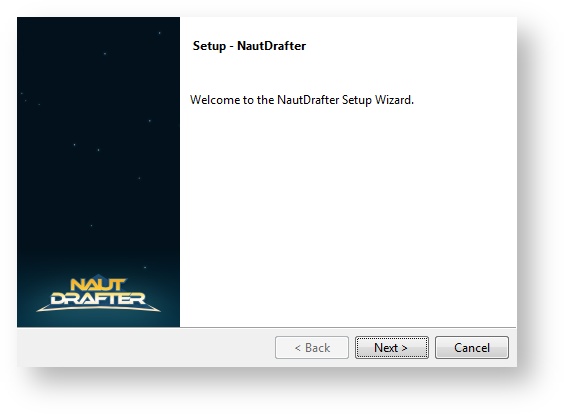
- The initial "Setup" screen will appear and you will need to select the "Next" option.
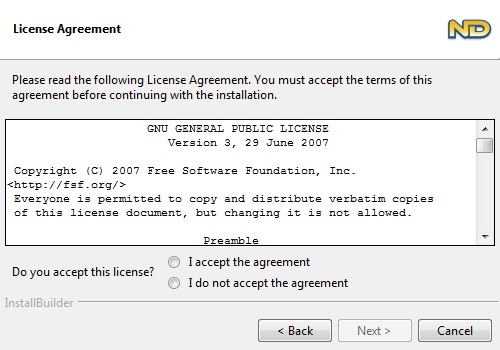
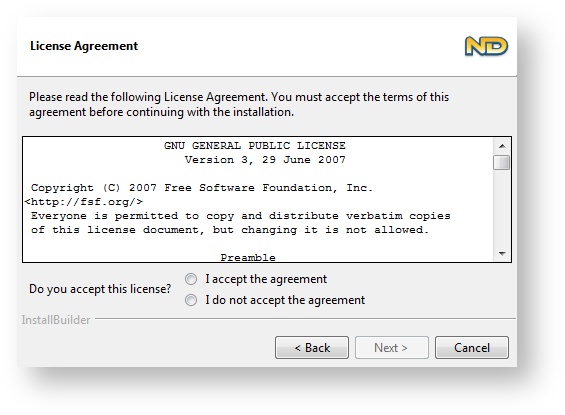
- You will now presented with the GPLv3 license, to which you much agree before continuing.
After clicking Next, you'll be given the chance to choose where NautDrafter will be installed. This can be left unchanged, or you can select a different folder for NautDrafter and all its components to be installed to.
Note title Note about file paths Unfortunately the install path cannot contain any whitespace characters - if you enter a path that isn't valid, the installer will let you know and allow you to change it. We are working to overcome this technical limitation.
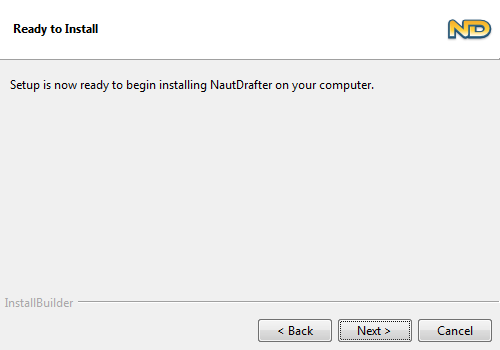
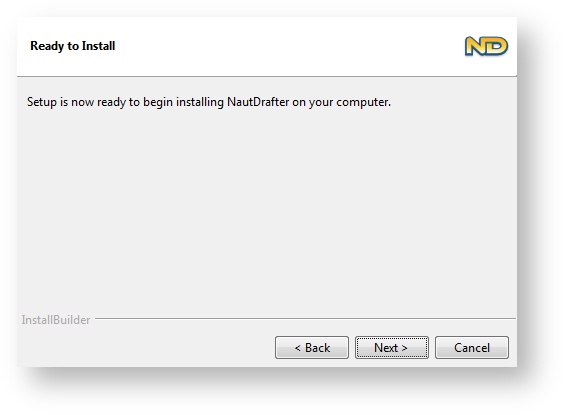
- The next screen informs you that NautDrafter is ready to be installed. Clicking "Next" will begin the installation.
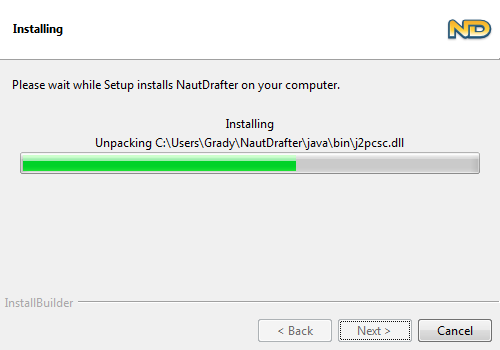
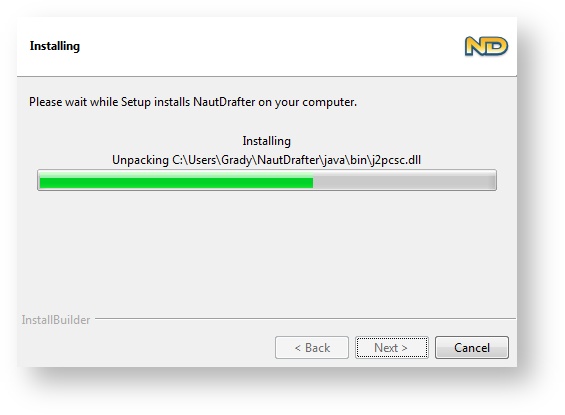
- When you click the button, the files are automatically unpacked into the folder chosen in step 6. These files also include a copy of the Java 8 Runtime Environment.
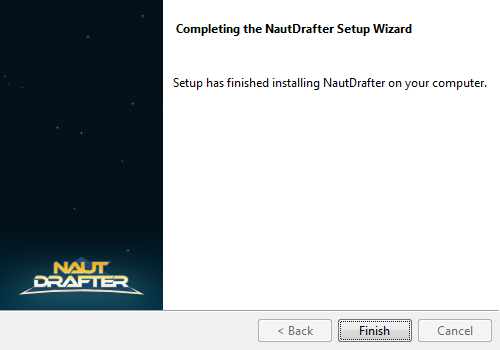
- The NautDrafter application has now been successfully installed, once you click "Finish" the installer will close.
Launching NautDrafter
...